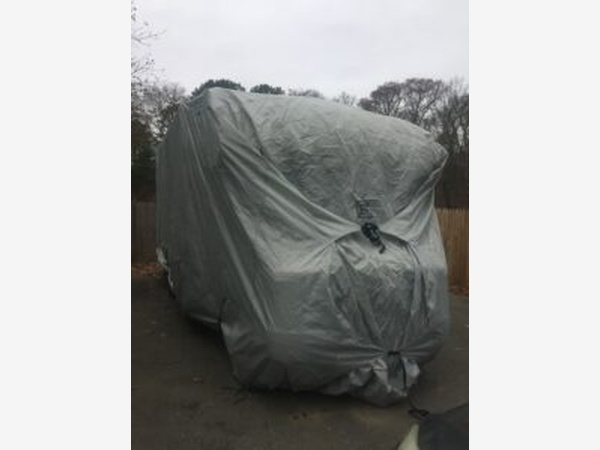
RV maintenance you probably didn’t know you should be doing is often the difference between a smooth family adventure and an unexpected repair in the campground. Most RV owners remember oil changes, winterizing, and checking tire pressure. The smaller jobs—cleaning a water-pump strainer, checking roof sealant, exercising the generator, and clearing refrigerator vents—are much easier to overlook. We have learned that RV life is about much more than camping. It also means caring for a rolling house filled with plumbing, electrical systems, appliances, seals, and moving parts.
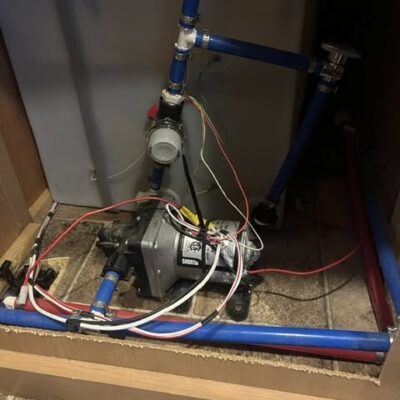
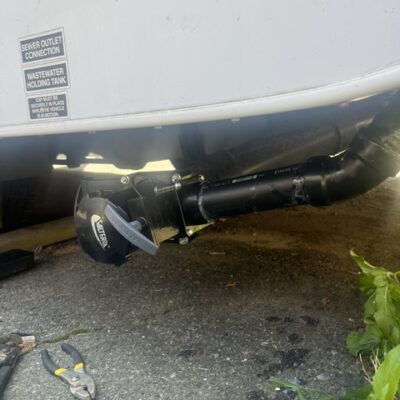
Some of those lessons have come at inconvenient times. We have replaced a water pump, worked on our water heater, and recently dealt with a leaking septic drain before getting back on the road. None of those repairs ended our travels, but each one reminded us that small inspections can reveal a problem before it becomes a much larger one.
This guide covers the less-obvious maintenance tasks we now try to include in our routine. Every RV is different, so always follow the instructions and service intervals in your owner’s manuals. If a job involves propane, 120-volt electricity, brakes, structural damage, or anything you are not comfortable handling, use a qualified RV technician.
RV Maintenance at a Glance
- Inspect the roof membrane, seams, and sealant at least twice a year—and after severe weather or low-branch contact.
- Clean window tracks, drain openings, appliance vents, and air-conditioner filters.
- Check the water-pump strainer, plumbing fittings, low-point drains, and sewer connections for small leaks.
- Exercise the generator under load according to its manual, even when you are not traveling.
- Inspect batteries, tires, valve stems, detectors, and the fire extinguisher—not just the obvious appliances.
- Keep a dated maintenance log so small jobs do not disappear between trips.
1. Clear Refrigerator and Appliance Vents
Exterior appliance vents can collect dust, leaves, spiderwebs, and insect nests. Restricted airflow can reduce performance, while debris near a burner area can create a safety concern. With the appliance turned off and cool, visually inspect accessible vents and keep them clear.
Do not disassemble propane components unless you are trained to do so. If you notice soot, unusual odors, corrosion, damaged wiring, or signs of overheating, stop using the appliance and schedule service. A clean vent is a homeowner-level task; diagnosing combustion equipment is not.
2. Maintain the Water Heater You Rarely Think About
Many owners think about the water heater only when the shower turns cold. Depending on the model, maintenance may include flushing sediment, inspecting the pressure-relief valve, cleaning the burner area, or replacing a sacrificial anode rod. Some RV water heaters use an anode rod and others do not, so confirm your model before buying parts.
Always turn off propane and electricity, let the water cool, and relieve system pressure before opening the tank. If you are uncertain, have the unit serviced. Our own water-heater work reinforced a simple lesson: knowing the model number and keeping the manual accessible saves time when something stops working.
3. Check the Water-Pump Strainer and Plumbing Connections
The small strainer near the fresh-water pump protects it from debris, but it can clog or develop a leak at the bowl or fitting. Check it with the pump off and the system depressurized. Clean it as directed, inspect the seal, and make sure the bowl is seated correctly before restoring pressure.
Then use a flashlight to inspect plumbing connections beneath sinks, near the water heater, around the toilet, and inside service compartments. Feel for dampness and look for staining. Also check low-point drain caps and the sewer termination assembly. A slow drip can damage a cabinet or floor without leaving a puddle where you can easily see it.
4. Sanitize the Fresh-Water Holding Tank
A fresh-water tank may look clean while still developing odors, biofilm, or contamination inside the tank and plumbing. Sanitize the complete potable-water system at the beginning of the season, after long storage, after a questionable fill, or whenever the water develops an unusual taste or smell. Your RV manual should provide the correct procedure, solution strength, contact time, and flushing steps for your system.
Do not guess at the amount of sanitizer or mix household chemicals. Use a potable-water-safe product or the exact method approved by the RV manufacturer. Bypass or remove filters when instructed, make sure the sanitizing solution reaches each hot and cold fixture, and flush the system thoroughly with safe water before drinking from it. If the RV has been exposed to floodwater or known contamination, seek professional guidance rather than relying on routine sanitizing.
5. Exercise the Generator—even When You Do Not Need It
Generators do not necessarily benefit from sitting unused. Cummins advises owners to exercise onboard generators regularly and to follow the model-specific manual for load, duration, and service intervals. Recommendations vary by generator, so your manual—not a generic online schedule—should control.
Run the generator with an appropriate electrical load, record the hours, and pay attention to hard starting, surging, unusual exhaust, or leaks. Regular exercise helps circulate fuel and lubricant, drive off moisture, and reveal problems while you are at home rather than relying on the generator during a hot campground stay.
6. Inspect House Batteries and Terminals
House batteries quietly power lights, pumps, controls, and safety equipment. Check that batteries are secure, terminals are tight, and cables show no corrosion or heat damage. Clean and service them only with the power isolated and according to the battery manufacturer’s directions.
Flooded lead-acid batteries may require electrolyte-level checks; sealed, AGM, and lithium batteries have different care requirements. Do not add water to a battery unless its manufacturer specifically calls for it. A battery monitor can help you notice unusual discharge patterns before the lights go out.
7. Look Beyond Tire Tread
Tread depth is only one part of RV tire care. Check cold inflation pressure using the vehicle or tire guidance appropriate to your loaded RV, and inspect sidewalls, valve stems, and dual-tire spacing for damage. Goodyear recommends checking tire pressure monthly and using the vehicle manufacturer’s pressure information rather than guessing from appearance.
Find the tire date codes and include the spare in your inspection. Sun exposure, long storage periods, loading, heat, and condition all matter. Calendar age alone does not tell the whole story, so have questionable or aging tires evaluated by a tire professional who understands RV applications.
8. Test Detectors and Inspect the Fire Extinguisher
Smoke, carbon-monoxide, and propane alarms do not last forever. Test them using the manufacturer’s instructions, replace batteries as required, and check the replace-by or end-of-life date printed on each unit. A detector that chirps may be warning about a low battery, a fault, or the end of its service life.
Confirm that the fire extinguisher is accessible, appears undamaged, and is within its inspection or replacement requirements. Everyone traveling in the RV should know where the exits and extinguisher are located. Safety equipment is easy to ignore precisely because we hope never to need it.
Frequently Asked Questions
How often should I inspect my RV roof?
Follow the roof manufacturer’s instructions. For example, Dicor recommends a semiannual inspection for its Crossflex roof system. Inspect sooner after severe weather, storage, or possible branch damage.
Should I perform all RV maintenance myself?
No. Many inspections and cleaning tasks are owner-friendly, but propane systems, 120-volt electrical work, brakes, structural repairs, and unfamiliar rooftop work should be handled by a qualified professional.
What maintenance records should I keep?
Record the date, mileage, generator hours, task performed, parts or fluids used, receipts, and the next service due. Photos of tire date codes, roof seams, and model-number labels can also be useful.
What should I check before a long RV trip?
Start with the manufacturer’s pre-trip checklist. At minimum, inspect tires and pressures, fluid levels, lights, batteries, plumbing, roof and exterior seals, safety devices, appliances, and emergency equipment. Test recent repairs before leaving home.
Final Thoughts
Owning an RV has taught us that maintenance is part of the adventure. Replacing a water pump, working on the water heater, or repairing a leaking sewer connection is not the part that makes the vacation photos—but those jobs help keep the next family trip moving.
The goal is not to become an expert in every system. It is to notice changes, follow the manuals, keep good records, and know when to call a professional. By adding these overlooked checks to your routine, you can catch small problems earlier and spend more time enjoying the road.
Have you discovered an RV maintenance task you never knew you were supposed to do? Share it with the Cape RV Travelers community, and explore more of our practical RV tips and lessons learned on the road at CapeRVTravelers.com.