Traveling in an RV can take you to some amazing places. It can also help you create amazing memories. However, not every part of the RV lifestyle is glamorous. . Maintaining and emptying your RV holding tanks is one of the unglamorous parts of RV travel. Of course, without proper maintenance and care, things can get ugly. Whether you are new to RVing, or a seasoned traveler, it is important to stay on top of the holding tanks. These tips will help you avoid problems.

The Grey Holding Tank
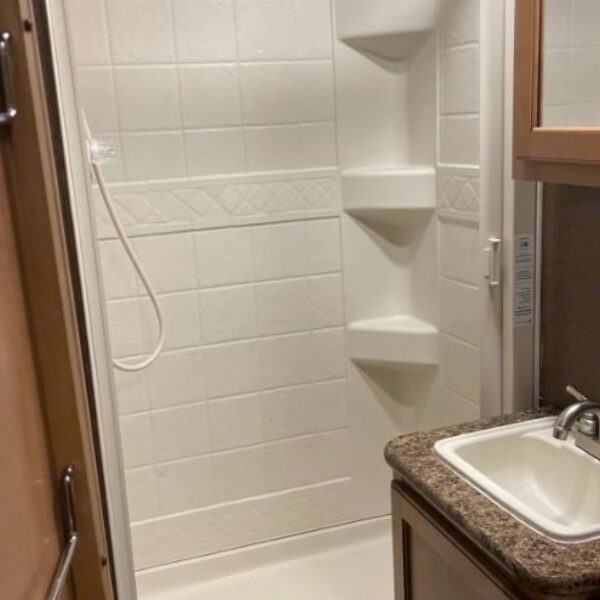
The RV’s gray holding tank holds wastewater from every source other than the toilet. This includes both the kitchen sink and bathroom sink. In addition, the shower also drains into the gray tank. Therefore, soapy water, toothpaste, dust, and dirt from your afternoon hike, and else you rinse down the sink ends up in the gray tank.
The Black Holding Tank
The black holding tank only holds the wastewater that you flush down the toilet. Therefore, it only contains human waste. While both of your rv holding tanks require care and maintenance, the black tank is most important. If not properly cared for routinely your travels can quickly begin to stink!

RV Holding Tanks: Do’s and Don’ts
- Add a clear plastic septic hose adapter to your toolbox. This useful accessory allows you to monitor the flow of waste. To see other important accessories check out our must-have accessories blog post.
- We recommend using only RV-approved toilet paper. It breaks down faster in the tank and is less likely to clog the system.
- Always dump a full black tank. Don’t leave your black water tank valve open when hooked up. This ensures there is enough water to push everything through. Otherwise, you are left with what is known as the dreaded poo pyramid.
- Empty tanks in order from dirtiest to cleanest. Therefore, start with black water. That way the cleaner water tanks can help clean out the hose.
- Use tank conditioners. This ensures that waste and gunk don’t get stuck to the walls of the tanks and flush out better.
- Don’t wash food down the drain. This will keep your gray water tank from getting smelly. If you have issues with smells, you can treat your gray water tank with tank conditioners.
Dumping Your RV Holding Tanks
This is truly the most unglamorous part of RV living. However, it is an important step that needs to be done correctly. In reality, it’s not as bad as it seems. If you do everything properly, you can get the job done in less than 15 minutes, and not make a mess.
- First, put on a pair of gloves. Better safe than sorry! It only takes one mishap with our gloves, to ensure you never forget again!
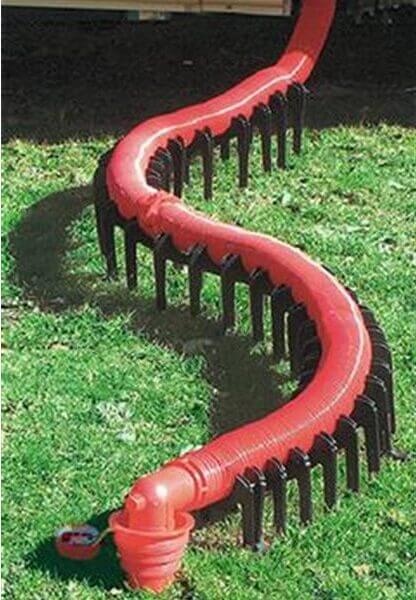
- Hook up your sewage drain hose to the holding tank drain valve on your RV. Secure the other end of the hose to the valve at the sewer drain or dumping station.
- Pull the valve to empty the black tank FIRST. Allow it to drain completely. This is where the need for a clear plastic adapter comes into play.
- We then run clean water into the tank for a minute or so just to rinse out the tank, and the hose.
- Repeat steps 2-4 with the gray water tank.
- Close the valve and remove the hose from your RV water tank.
- Rinse off the inside of the hose before disconnecting from the sewer connection or dumping station.
- Remove the sewer hose and properly store it.
Things to Remember:
Never leave the black tank valve open while hooked up, and only drain when it needs it.
We also recommended keeping the gray valve closed while hooked up. If set up for a few days we may leave the hose connected, but never leave the valves open.
Rinse the septic hose before storing it in the RV.
Cleaning Your RV Holding Tanks
Whenever returning from a trip it is important to ensure the holding tanks are cleaned and well maintained. This will ensure that the valves and drains continue to work properly. In addition, it will ensure your RV is not filled with foul odors!
After our trips, we first ensure both of the tanks are empty.
Cleaning the Black Tank
For this, we use a version of the GEO method. This is one of the more well-known methods in the RV community for cleaning your black tank.
First, add some water to the black tank by flushing the toilet for a minute. Next, add 1 cup powdered water softener OR 1 cap liquid softener. Next, we add 1 cup Dawn dish soap.
Finally, we use a toilet wand to wash the sides of the tank and to mix up the soaps added to the tank. We then leave the solution in the tank for a day or two before emptying the tank.
Cleaning the Gray Tank
Before going to bed ensure that the gray tank valve is closed. Make sure the tank is filled at least halfway with water. If the water is as high as the highest sensor this will ensure all the sensors. This will ensure accurate readings on your sensors.
Next, add 20+ ounces of Dawn Dish Soap down the drain. We recommended Dawn Dish Soap because it is a great degreaser. Then let this sit overnight.
Prior to packing up in the morning, open the gray tank drain. This will help remove food and grease build-up from the tank and help clean out the drain line as well.

Cleaning, and maintaining, the RV holding tanks is not the most exciting part of RV travel. However, it is vitally important to ensure that your camping is enjoyable. There is nothing that will hamper the vacation quicker than the backup of odors into the RV. In addition, being on the road when the holding tank system fails will make the trip a little less enjoyable. Whether you are new to the RV lifestyle, or not, we hope these tips make your travels a little bit easier.
We love to hear from our followers. Please leave a comment below.
Do you have any other tips to share regarding the care of RV holding tanks? Have you had issues with your tanks? How did you fix them?


